With the concrete walls set for the garage, it was time to build the front wall and get the roof trusses in place. . We were dreading the placement of what we simply dubbed, the “big truss”. Big truss is a 300 pound triple truss coming in at 26 feet long. The smaller trusses are singles at 26 feet long, and only weight 95 pounds.
It was key to ensure that the front wall was built properly – it supports the trusses. If the front wall height is incorrect, the roof will not slope properly leading to water drainage issues. Dave used his laser level to sight the wall heights and then ran plumb lines to ensure that everything as built to the appropriate height.
Dave and excavator Dave used his mini backhoe to move big truss into the garage. Big truss was so long, it could not be orientated properly in the build site. Dave and excavator Dave had to move the truss to the shared driveway, orientate it properly, and move it back to the build site (Jess was fortunately not home for this escapade). The escapade Jess got to witness was the lifting of big truss into place with the mini excavator. We are most definitely not a OSHA job site.

Front wall is being constructed. Orange string is the plumb line for the wall’s top plate. 
Starting to lift big truss into place. 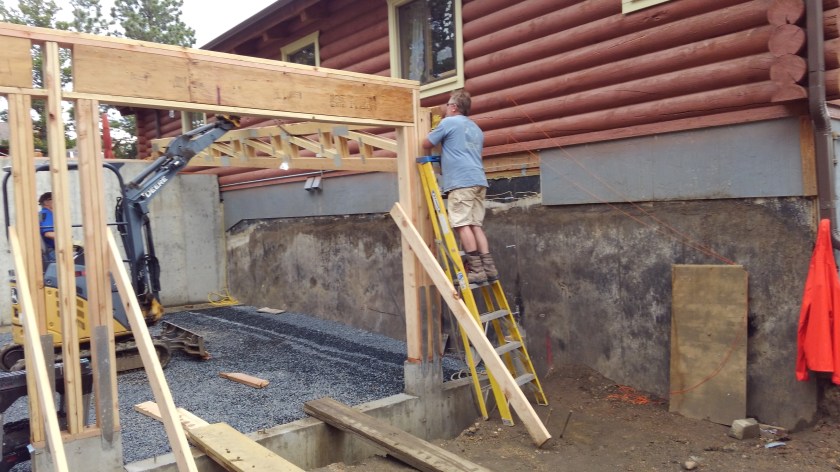
Big truss is getting closer to its resting place 
Big truss is almost there. 
Done! Big truss is secure.
After big truss was secure, we used a materials lift (rented) to position the remaining 15 trusses. The materials lift was a back and lifesaver. The trusses were lifted and positioned 16 inches on center on the top plate of the front wall and rear concrete wall. Dave had pre-marked the top plate so the trusses could be quickly placed. Once the truss was in position, a nail gun was used to toe-nail the truss in place. The truss was then secured to a 2 x 4 running horizontally across the top to ensure that it remained 16 inches on center and perpendicular to the top plate. The tricky part to this step was the last two trusses – both had to be lifted to the top plates and secured to big truss. The reason for this was if the penultimate truss was placed, it would have prevented us from using the materials lift to get the last truss set.
Once all the trusses were in place, the materials lift was used to get the decking sheets (Advantech) onto the roof. The first two sheets took the longest because they had to be secured in order to create a platform to place materials and work from. Construction adhesive and screws were used to secure the Advantech sheets to the trusses. Since the sheets are 4’x8′, it was key to have all the trusses 16″ on center to ensure that all the seams were located on a truss. Once the roof decking was on, the entire system was very sturdy.

The materials lift. 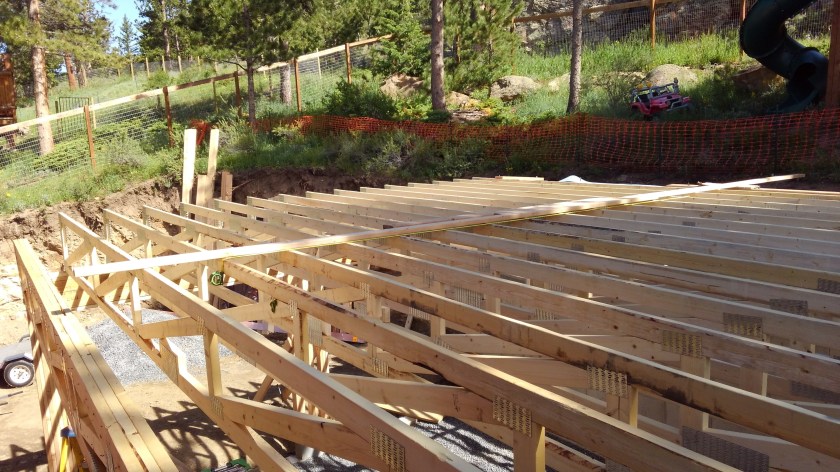
2×4 cross bracing to stabilize the trusses. 
Roof decking material stacked up and ready to be attached. 
Dave applying construction adhesive. 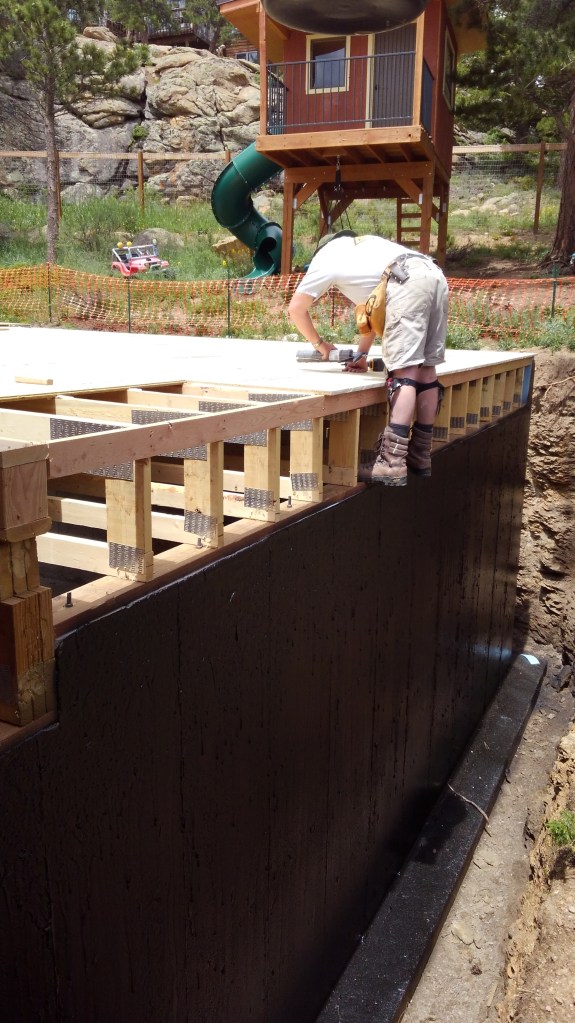
The rather perilous work installing the last row of decking 
Our site supervisor, Alex, checking out progress. 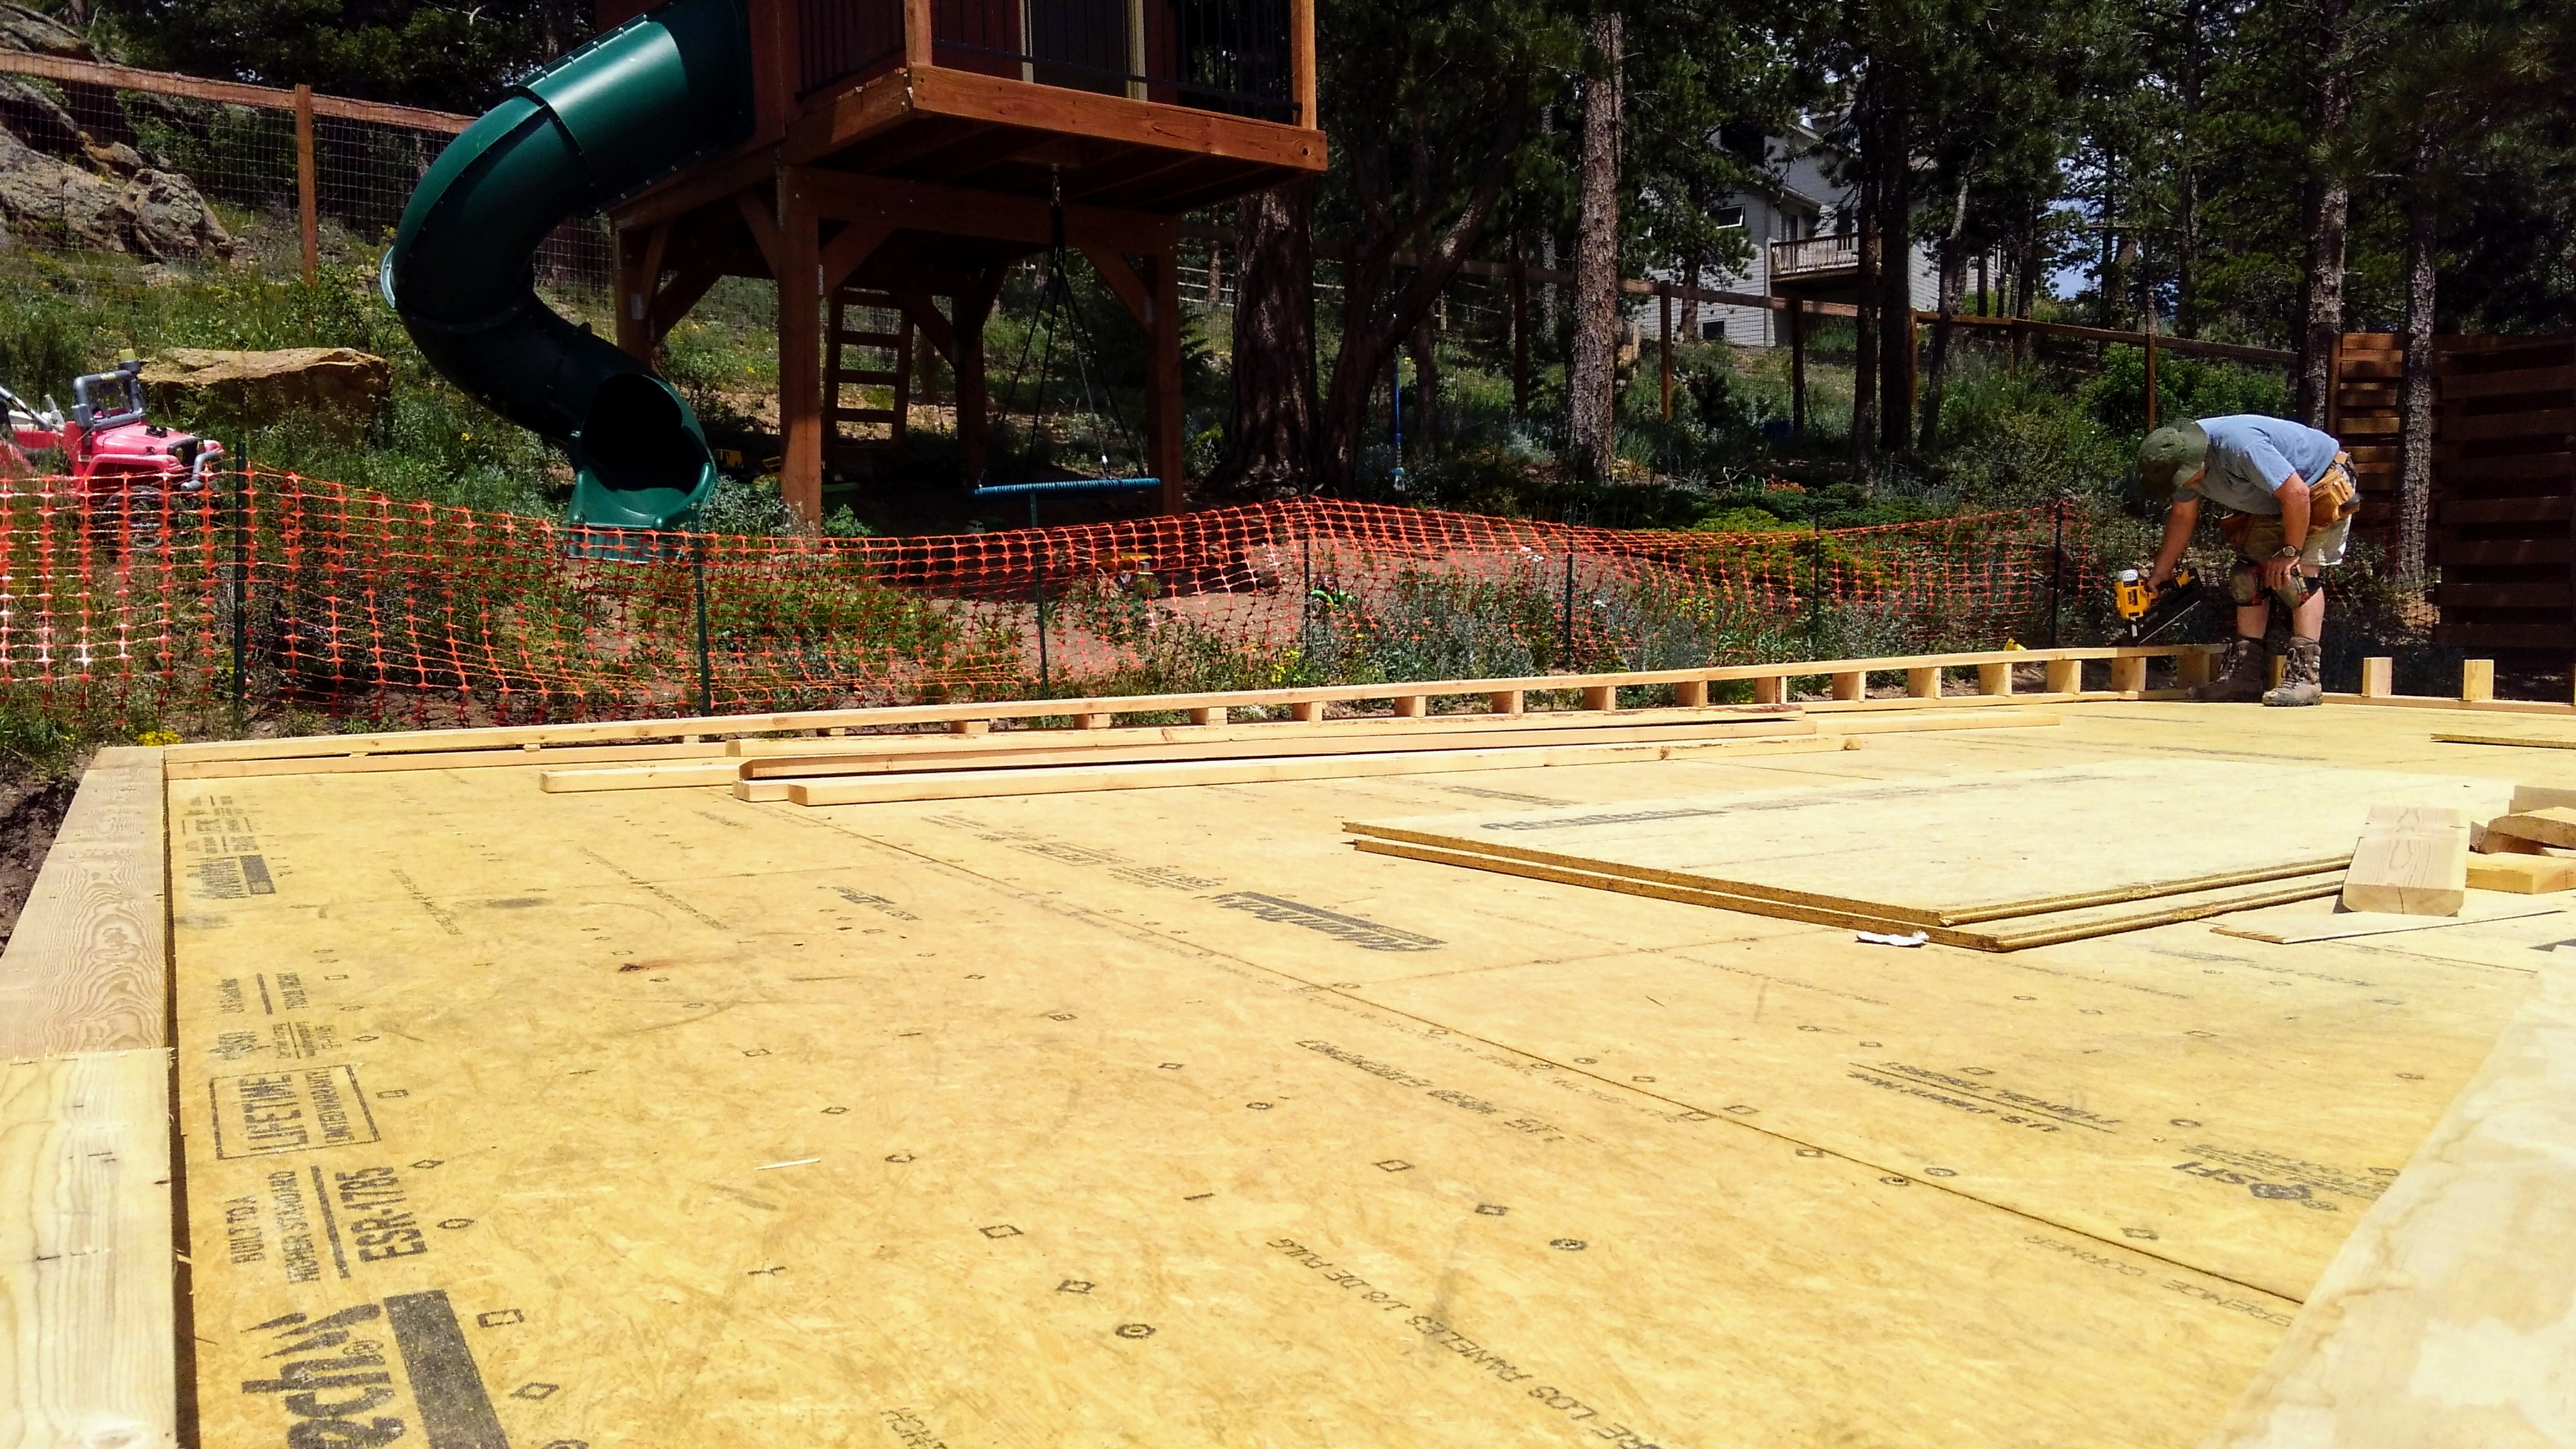
Parapet wall construction.
Upon completion of the roof decking, Dave went on to build a parapet to hold the green roof material and the roof for the window well. To build the parapet wall, roof’s slope was taken into account. The wall is 4 inches high over the garage doors, increasing to 10 inches high to the rear of the garage.