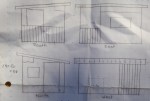
With the garage addition, demolition was rather limited. The real demo for the project was Dave breaching the foundation wall. This was messy work, as all demo should be, but it was not extensive. But not to fear, the first floor renovation provided an excellent opportunity to vent frustration through demolition. For a reminder of the master plan for the downstairs – wander over to this post.
First things first, the downstairs had to be cleared out. A vicious purge was held. Things given away willy nilly. Three crockpots is sufficient, having four is just heading into largess. Baby toys Evan has out grown. Currently used items were shifted upstairs. Dining room? A wonderful office. Toys creatively stashed in the living room and Alex’s room. But even then, it wasn’t enough. A storage unit was rented and the extra odds and ends that didn’t fit into the new garage or house were mothballed for storage.
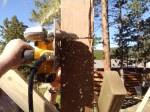
After that, demo fun began. To no one’s surprise, quite the graveyard of mice were discovered. The poor things would run along in the ceiling joists then make their way down into the cavities and get trapped. Mice are not welcome in the house, but they are not wished a long and inhumane death.
The shortcuts and questionable decisions during the initial construction were discovered. The even more questionable decisions made by the previous owner during the installation of the illegal rental apartment were exposed. It was a longer than expected process, but the critical step to making things better.
Shoddy Shortcomings
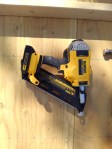
- “What we lack in quality of materials we will make up for in nails” was the theme of the original builder. Shitty materials? Use 75 million nails to hold it together?
- It is a mountain build in the early 90s! Use whatever is on the truck so we don’t have to run down to the building supply yard in Boulder.
- There were building codes in the early 90s. Either no one checked this build or some palms were seriously greased.
- The house is not built according to the plans submitted to the town.
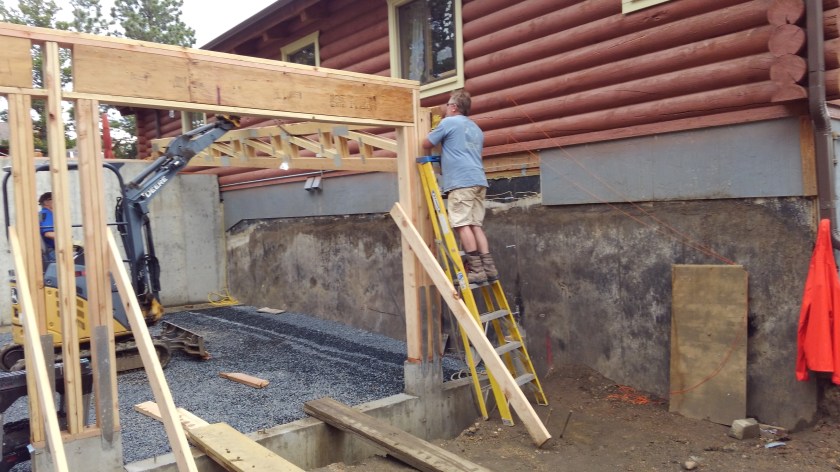
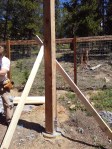
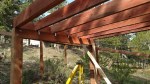
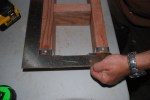
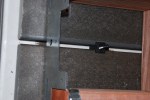
- The steel beam to allow for a clear span garage was an after thought. Evidence: there was no pocket for it to sit in within the foundation wall (best practice) and the 3 2 x 6s were barely sitting above the footer.
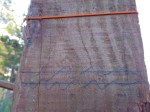
- Front wall had no vapor barrier and clear cracks and the fiberglass insulation had strips of dust where wind had been blowing in.
- The original builder failed to seal around the windows properly allowing mice easy access into the house.
- Two 15 amp electrical circuits for the entire first floor. No wonder singed wires were found.
- Tiled around bathroom vanity.
- There is more that has been blocked out with margaritas. At some point it will be remembered and shared.
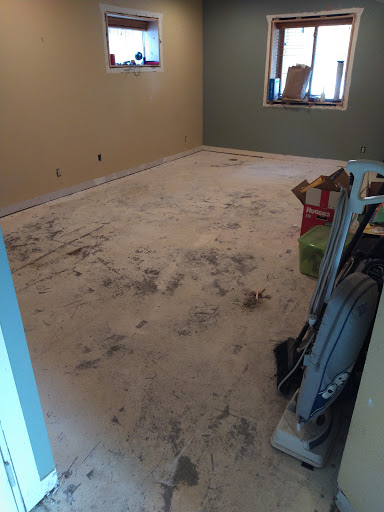
Engineered flooring has been ripped out. 
Vanity that was tiled around. 
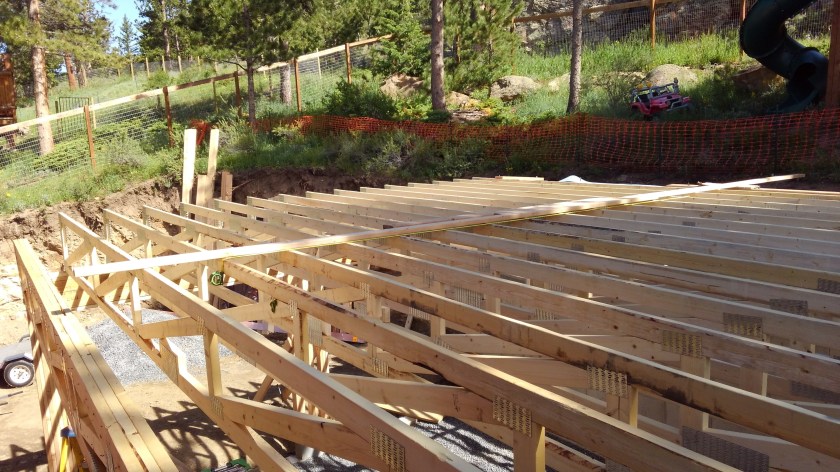
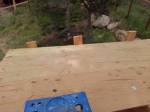
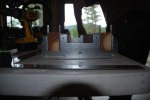
Base plate sitting in the concrete. 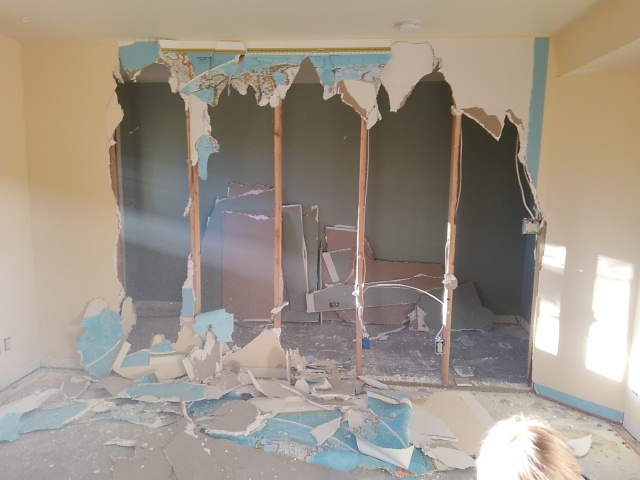
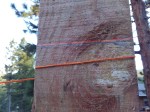
A wall has been breached! 
Starting the mouse body count. 
Demoing with concerns about hantavirus were the greatest concern 
Piece of drywall vapor barrier? 
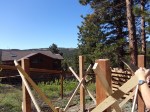
Another wall has come down! Great room concept takes shape. 
Singed wires. 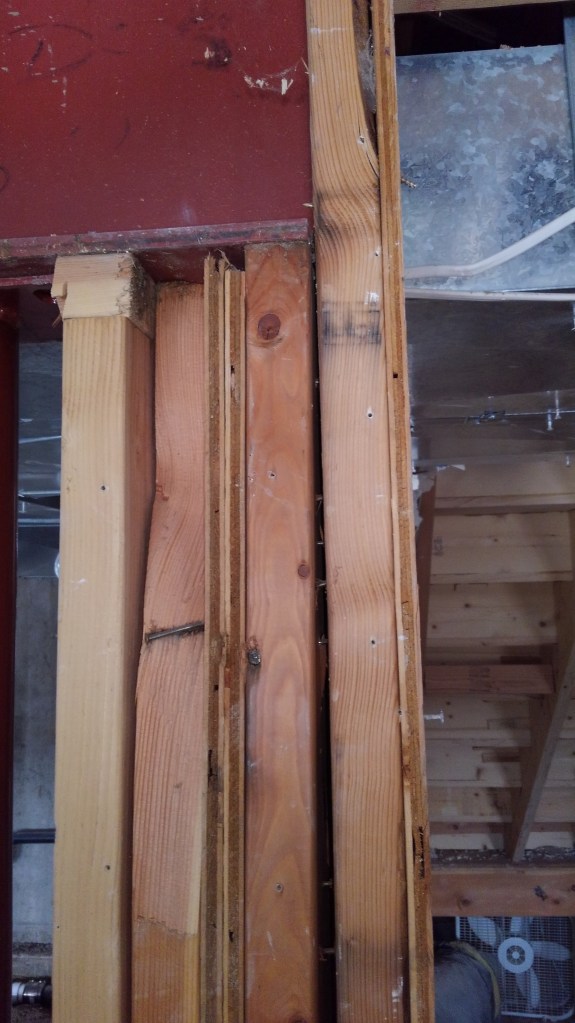
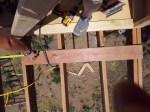
An amazing example of the scraps of lumber the original builder used to support half the house. 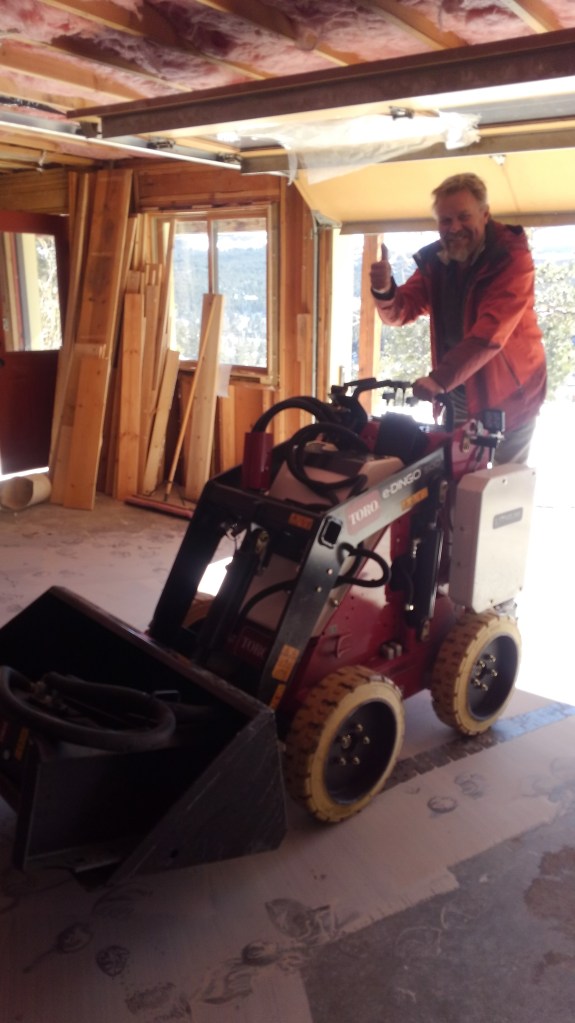
Dave bringing home the Toro e-Dingo rental 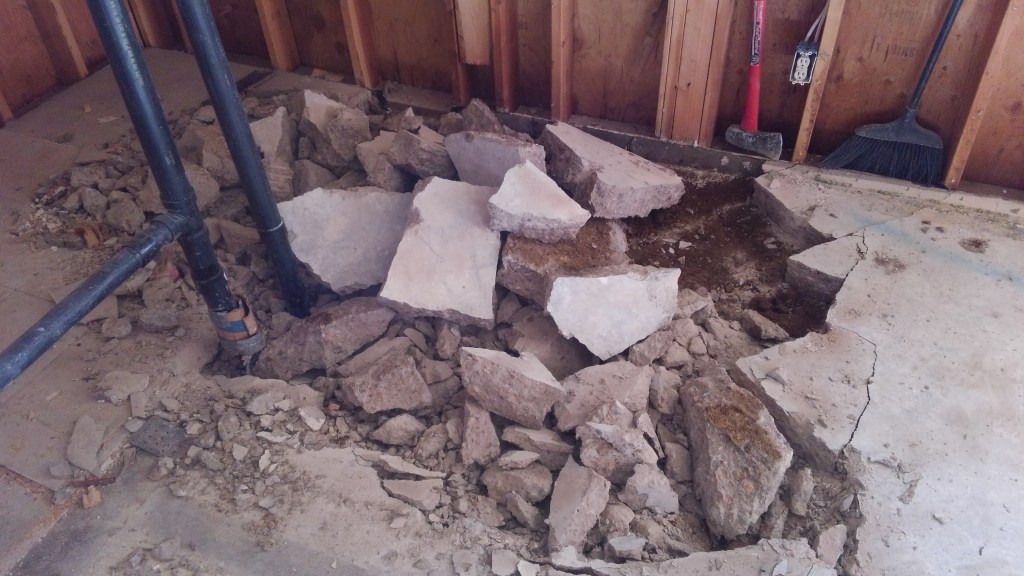
No turning back now. 
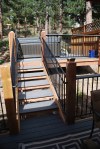
The results of the e-Dingo’s hard work