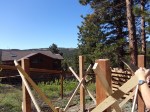
Alex’s birthday has come and gone and unfortunately the playhouse wasn’t finished in time. We experienced a delay with having to move the playhouse location in order to maintain good relations with our neighbors. Lesson learned, go into more detail on what one is seeking approval. All is good, friendly relations were preserved. In part thanks to the use of the demo hammer – quick work was made of hole digging and original footer destruction. Everything else transferred over (brackets were salvaged!), the posts just had to be cut down to accommodate the different elevation.
Critical Tools: Levels – old school and laser, circular saw, reciprocating saw, measuring tape, drill with spade bit, guide string
Process (Simplified):
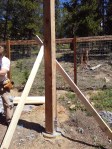
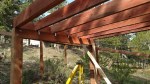
- Create channel is post, drill through bolt holes, mount post.
- Determine desired floor height and use laser level to determine cut down post height of a single post (cut down post height = top of post – floor decking – floor joist)
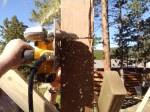
- Cut posts down to proper height and notch out shoulder for support beams.
- Install beams (how to build a beam), floor joists, floor decking
Process (Gallery)


Skill Level: Advanced/Expert.
Tip(s): Use the laser level to mark the posts at dusk. Makes it much easier to see the line.
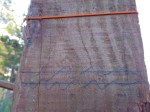
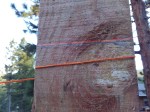
Know your tools. We mounted the laser level to make the top of all posts (floor height). While we struggled with the optical illusion introduced by the land’s slope, something still didn’t look right. We fastened a 2 x 4 along the marks across two posts and checked with an old fashioned level. Definitely out of level. Looking closer at the laser level it was determined the wrong setting was being used. Whoops. Second tip is when in doubt using a different method to confirm what you are seeing.