Modern day Okies leaving the dustbowl of corporate America.
Deck: Reassembly Part 2
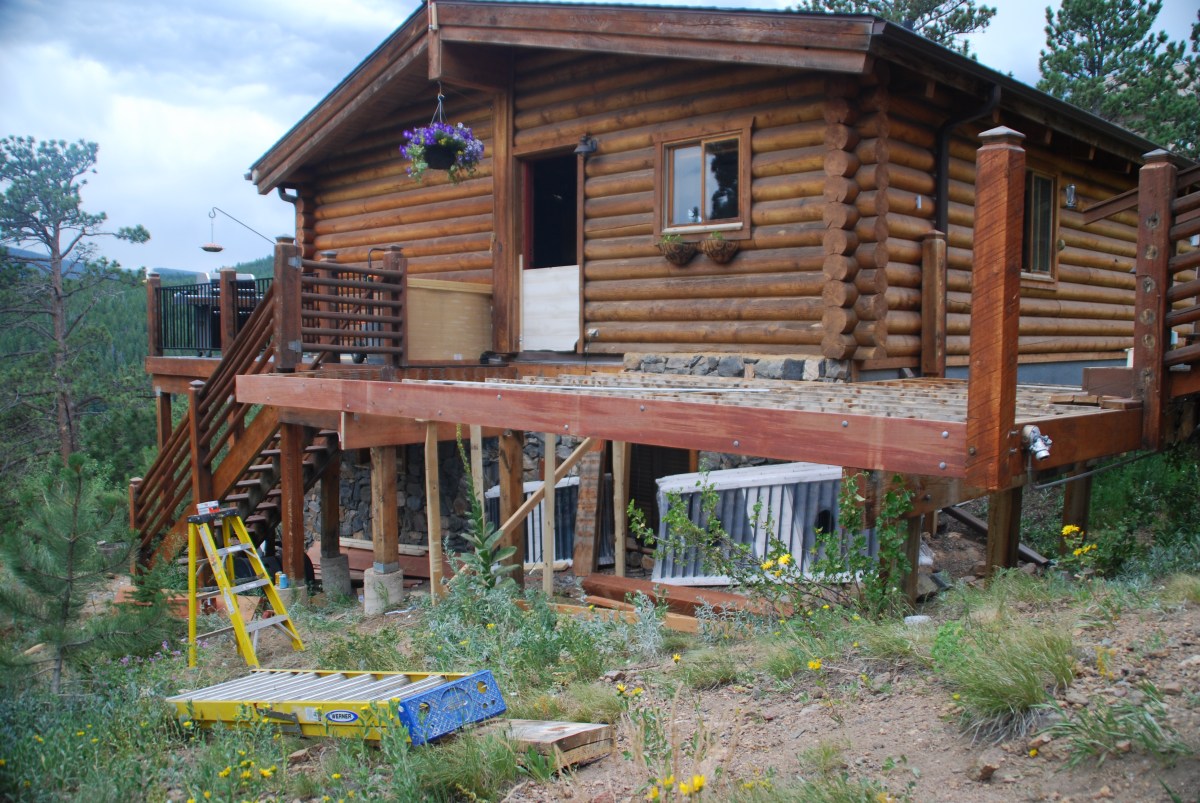
So now that we have discovered the extent of the poor workmanship on the deck framing, it is time to repair the hazards and make this deck safe. Replacements included rotted support beams, an undersized beams, and improperly cantilevered joists. It is likely that the framing was not constructed fully from pressure treated lumber.
Check out the gallery captions for the nitty gritty details. Check out deck reassembly post 1 for information regarding the Trex installation. No Trex RainEscape here.
Preparation:Remove decking, curse at the unknown person(s) who built this portion of the deck
Critical Tools: Healthy amount of patience, well developed curse word vocabulary, screw gun, clamps, jig saw, circular saw, railing jig, level, nail gun, level, tap measure
Skill Level: Advanced/Expert. If you don’t know what you are doing, things will get ugly.
Tip(s): Step back to help see the forest for the trees. Some challenges are easily solved once it is determined the perceived problem does not affect the end goal.
Take the time to plan everything out. This will save so much trouble down the road.
Don’t go cheap on the materials. This is not the place to be a penny pinching skin flint. Don’t purchase your materials for some guy selling scraps of wood out of the back of his pick up. Buy real lumber. Pressure treated lumber.
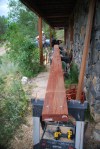
Gallery
Test fitting a new beam to determine how far out of level the deck joists are.
Aluminum straight edge (re-purposed from drywall work) being used to confirm the extent of the joist sag.
Aluminum straight edge and level confirming that the sag has been removed from joists.
Using a marking line to help provide a visual edge for the measurement of the replacement beam.
Replacement beam (original was rotted and infested with carpenter ants AND too short) with first joist resting on it.
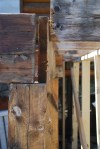
What do you mean vertical supports should be secured to the base?
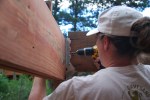
Builder’s assistants 1 and 2 securing post to base with Simpson Strong Drive Connecting Screw.
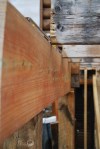
Replacement outer band board of the deck. Original was too short and constructed in two, non-overlapping pieces (bad). This 24 foot beam was constructed by taking two 16 foot long 2 X 10 and overlapping them 10 feet and securing with nails and 5/8″ X 5″ bolts every 2 feet. 6 foot lengths were used to fill in the ends.
New band board installed! Builder and builder’s assistant 1 managed to get it into place. Notice how the crown of the board is facing up. Crowns of each board using to construct the band board had to be be orientated in the same direction.
Replacement joist. Old joist was twisting and splitting.


4 thoughts on “Deck: Reassembly Part 2”