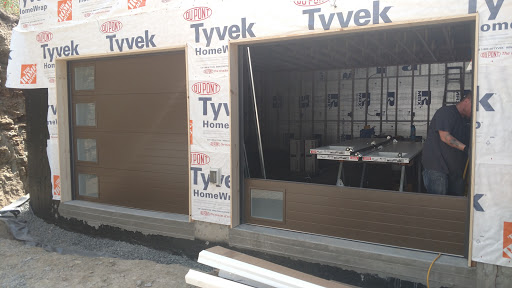
So what should one do while winter is closing and and the garage roof is just not quite done? First, you tease (all in good fun) your son’s former pre-school teacher because her son is working on your roof for the roofing company. Second, cross your fingers and watch as winter starts to roll in. Third, you work on the finishing touches.
Floor: Sealed with epoxy. We chose ArmorPoxy based on their GarageJournal reviews. GarageJournal is the place to go to get your nuanced questions answered and to view garage porn. ArmorPoxy is some of the finest New Jersey water, er, chemicals, that can be purchased. We opted to go with their “job on a pallet” product which is everything you need to complete your job (acid etch, primer, epoxy, top coat, anti-slip additive, squeegees, boot spikes). Our job, at 625 square feet) wasn’t quite big enough to warrant a pallet, but the FedEx driver was not thrilled.
We were pleased with the product. Instructions were easy to follow. Biggest complaints were the primer had a strong smell and the our epoxy color was similar to the primer color (hard to tell where epoxy had been applied). Even with the anti-slip additive, it is a bit slick when you walk in with a snow packed boot on.
Paint: We painted the walls and ceiling. Ceiling was painted first with a light grey using a sprayer (purchased for the house staining project). This was the easiest way to get good coverage with the spray foam. The walls were painted a darker grey. The end result was a cross between an art gallery and an operating room.
Storage: After spending time in California, we have learned to utilize all 3 dimensions when it comes to space. Shelves were installed on the far wall and a set of our Costco Husky shelves (2000 lb capacity per shelf) are in use. After a summer of hard work, Dave earned himself a new tool bench. Gladiator cabinets added more space for his tools and even extra storage for winter gear.
Outlets/Lighting/Compressed Air:Our electrician (J Fitzer Electrical) thought we were slightly off when we he saw our electrical plan – outlets everywhere! After seeing the 2 amazing outlets in the soon to be obsolete garage, he understood. And Jeremiah delivered on the outlets. The only goof was on our end, we switched the location of Dave’s shop area after the electrical work was done, so there is an outlet heavy corner of the garage that became a storage zone.
In addition to outlets, we went nuts with the lights. Soon to be obsolete garage had 2 bare bulbs that cast shadows that you could lose a full grown man in. It was awful. We hated it. The new garage ended up with 40 linear feet of LED shop lights. It’s better lit than an operating theater. And we love it.
Dave also earned a new compressor. The poor 20+ year old craftsman gave up the ghost on the siding portion of the project and progress was slowed down due to constantly waiting for the compressor to come up to pressure to run the nailer. And waiting for the compressor to stop running so we could run the circular saw without tripping the lone breaker that ran the entire soon to be obsolete garage.

Epoxy and paint. 
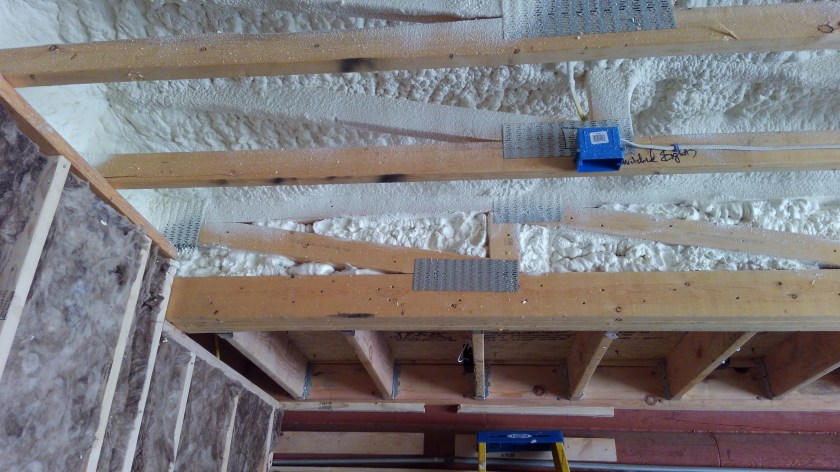
Open joists are great for running air lines 
One way leads to the work bench, the other way to the air hose 
Use the pro dope to reduce leaks 
Air hose reel! 
More outlets 

Shelves! 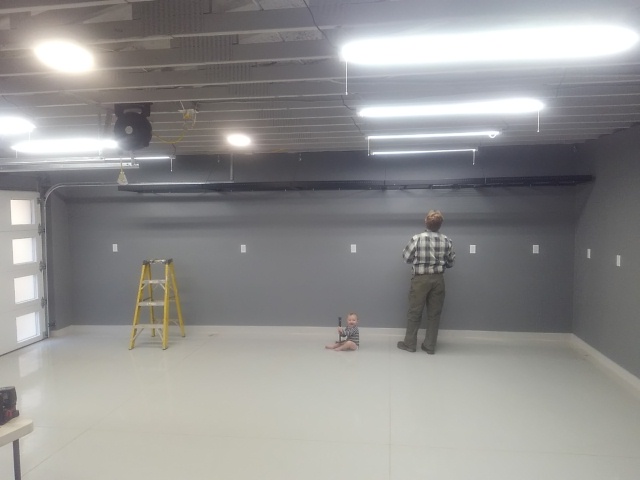
The entire run of elevated shelving. 
Dave’s work space. Already stuffed to the gills.