

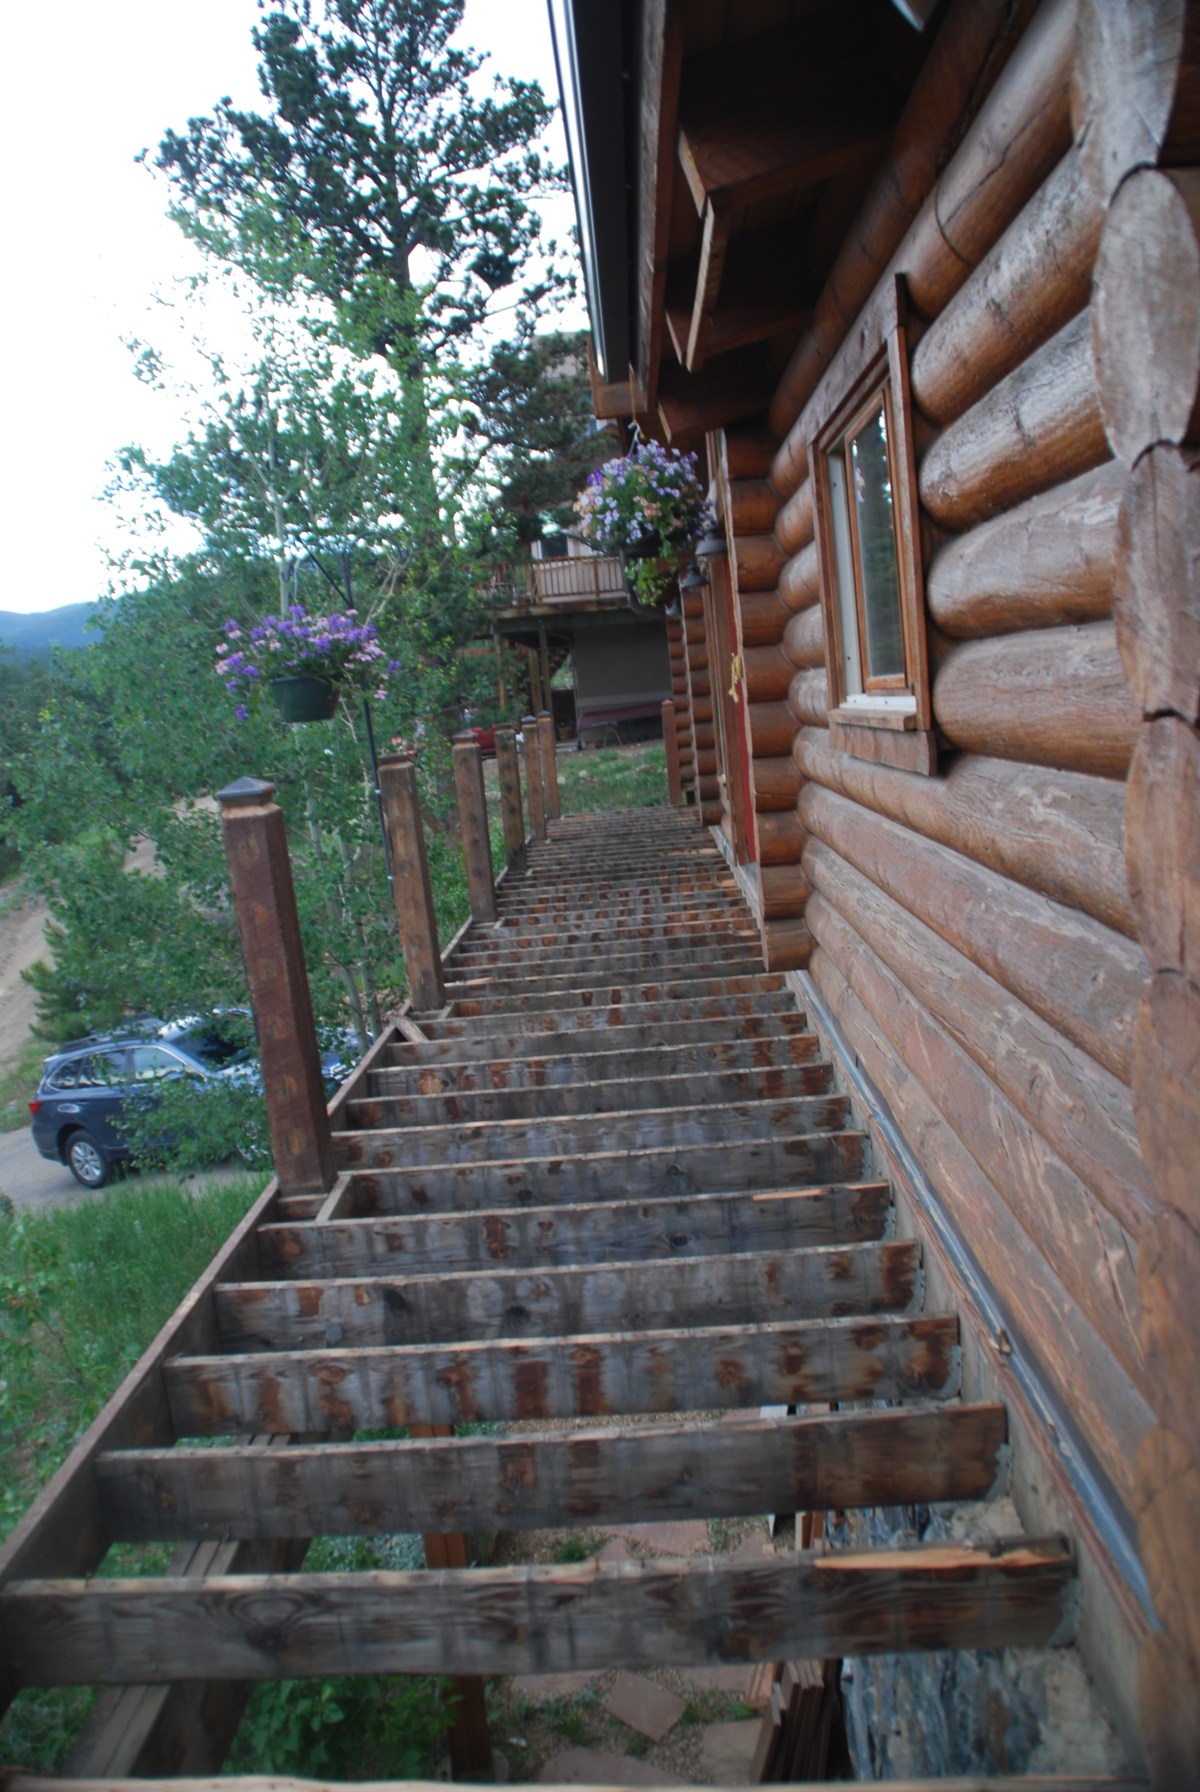

With summer in full swing and the inside projects complete, it is time to tackle the deck! What is wrong with the deck one may ask? Best guess it is close to 25 years old. It desperately needs to be repainted, boards need to be replaced, and our home inspector cautioned us against standing too close to the edge in one portion (structure is unsound). Throw in the horizontal railings that a young boy can easily climb, combined with a 15 foot drop, the safety issue is even greater. With that in mind, time to replace the deck and railing!

In general, the framing is in good condition and does not need replacement. The structurally unsound portion will be repaired to code and common sense. The decking will be replaced with Trex Enhance, color clamshell (grey). Grey was selected because there is so many brown tones with the log cabin, we didn’t want to look like we failed at matching. So we decide to do a cooler grey to help balance all that warm wood. Decking materials, including RainEscape for front deck, were purchased from Deck Superstore in Commerce City, CO (go check out their decking test area) and all lumber for framing repairs was purchased from Home Depot.
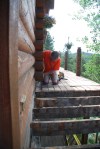
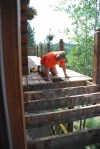
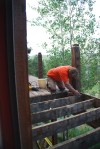
So, demolition, easy enough, right? Well, in this case some care had to be taken in removing the decking to avoid damage to the framing. We wanted to reuse as much as the framing as possible. So how was the decking removed?
Technique 1: Unscrew boards and pull them up.
Problems: Screw heads were filled with paint. Screws were stripped and could not be backed out. Screws were brittle and broke off. Boards had to be pried out with a crowbar and screws had to be broken off. A generous estimate was 10 feet of decking was removed in 4 hours.
Technique 2: Use a reciprocating saw with metal blade to cut screws (run between decking and joist.
Problems: Screws were far tougher than regular nails. Significant effort was required to cut through a few screws. This was draining on the saw batteries (multiple recharges would have been required throughout the day), saw blades, and Dave’s reserve of curse words.
Technique 3: Use a circular saw to cut decking boards between the joists from above. Knock board out, shearing the screw.
Problems: With the exception of copious amounts of saw dust generated and some wear and tear on the knees (if knee pads are owned, employ them here!) this technique was the winner! Very few screws that had to be broken off. 45 feet of decking was removed in 4 hours. A four-fold increase in productivity!
Preparation: Relocate planter, block off construction area (from the wanderings of dogs and child)
Critical Tools: Circular saw, pry bar, hammer, drill, pliers, knee pads, Sawzall
Skill Level: Intermediate
Tip(s): Have a bucket to throw screws in
Don’t use your tools of destruction recklessly. Recover and reuse what you can.
Clean up area every day, with a sharp eye on the look out for screws/nails in the driveway.
Check the joists carefully. An initial glance and the discoloration might be indicative of rot. In this case, it is where stain/paint dripped between deck boards.
Annoyed? Have a beer. Really annoyed? Go for the margarita.
Gallery


4 thoughts on “Deck: Demolition Part 1”