One of the hardest points of a construction project is right around the end of excavation. You’ve written checks for architect and engineering fees, variance fees, permit fees, and paid deposits. You are already over projected budgets and time lines, the bank account is depleted, and the credit cards are carrying much higher balances. And all you have to show is one flipping giant hole in the ground.
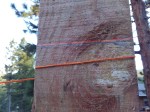
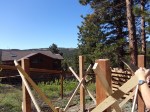
And then comes mud (concrete), glorious, glorious mud. It’s amazing how just getting footers in can offer a bit of hope. And then the wall forms. And before you know it, there are walls.
Footers pushed us a little further behind schedule. It has been a cool, wet spring in the mountains and that means concrete takes a wee bit longer to set up. Throw in the fact that everyone has been waiting for the good weather, the concrete plants are running at capacity and are struggling to keep up with demand.
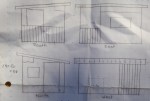
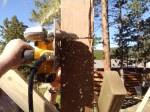
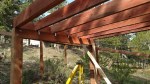
After getting the front wall framed and the roof decking installed, it was time to lay radiant flooring (3/4 inch PEX tubing on top of 2 inch foam board on top of 4 inches of crushed stone). Through meticulous planning, the radiant tubes are direct below unused air intakes in the existing foundation wall – no need to drill new holes. (It was really dumb luck, but we’ll take it.) After the tubing passed a pressure test, we were good to go for our pad pour.
With the concrete plants still running 24/7 to barely keep up with demand, we weren’t certain if we were going to be able to pour on Friday. This was key to allow us to do interior framing on Sunday. The framing needs to be done so we can keep on track with electrical rough in and not miss the inspection window. (Missing the inspection window just means more delays.) We found out on Thursday that mud was coming Friday at noon. The small things that help keep us on track.
Some fun info about concrete – it can be mixed at different consistencies. Thicker consistency is used for walls and footers (generally) and sets up quickly. The quick set up time results in a heat quickly and helps prevent the concrete from freezing before it sets in cold temperatures. Thinner consistency is used for floors (need to be floated) and sets up slowly. The heat is released more slowly. Why does this matter? Apparently on a hot summer day you need a mix that is thinner than normal. Otherwise the concrete sets too fast before it can be properly floated. We hired a great team of concrete guys, but they were working hard to make sure things were right before the concrete set.

Wheelbarrowing the mud to the footer forms. 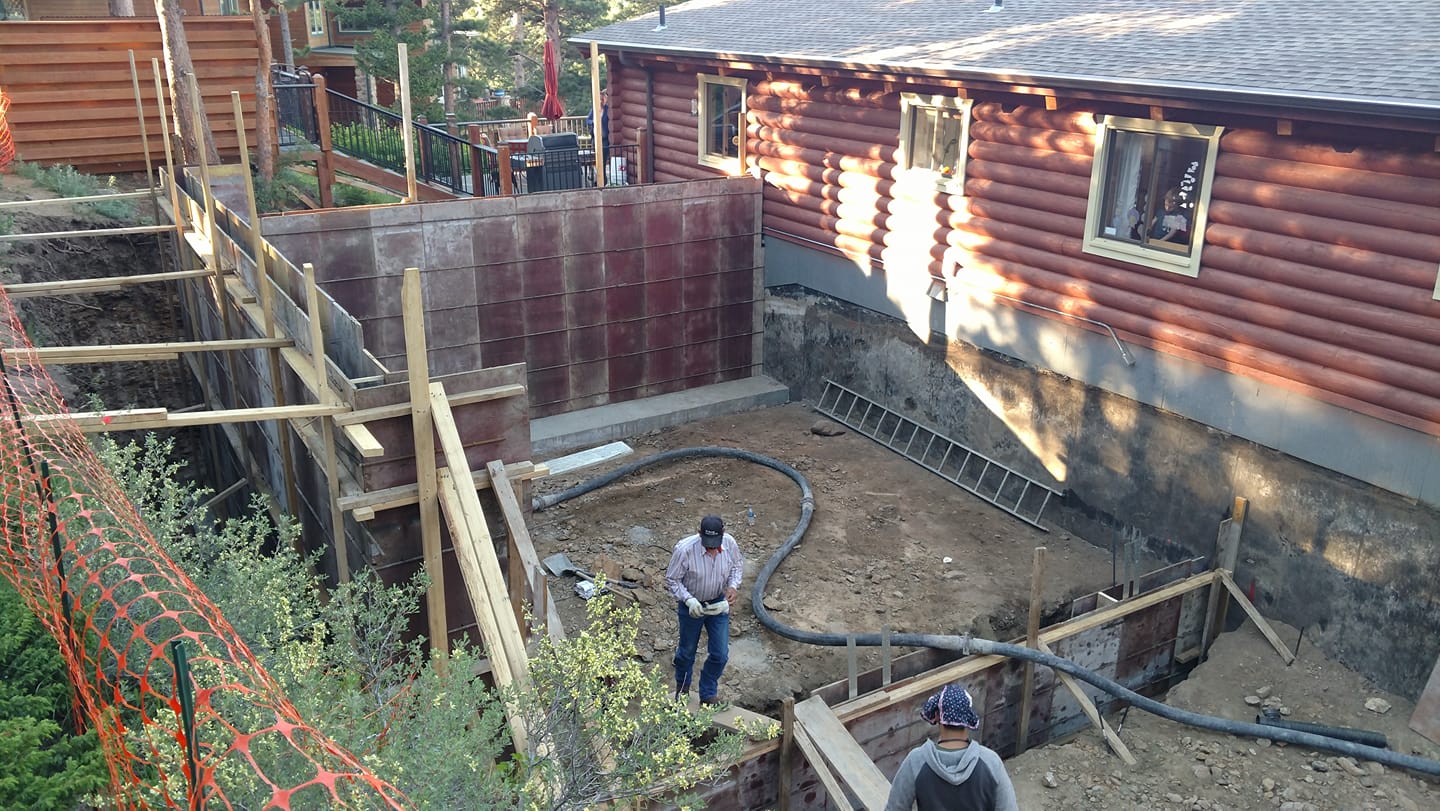
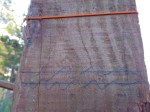
Ready to pour the walls 
The void is starting to take shape. Concrete was pumped in to fill the wall forms. 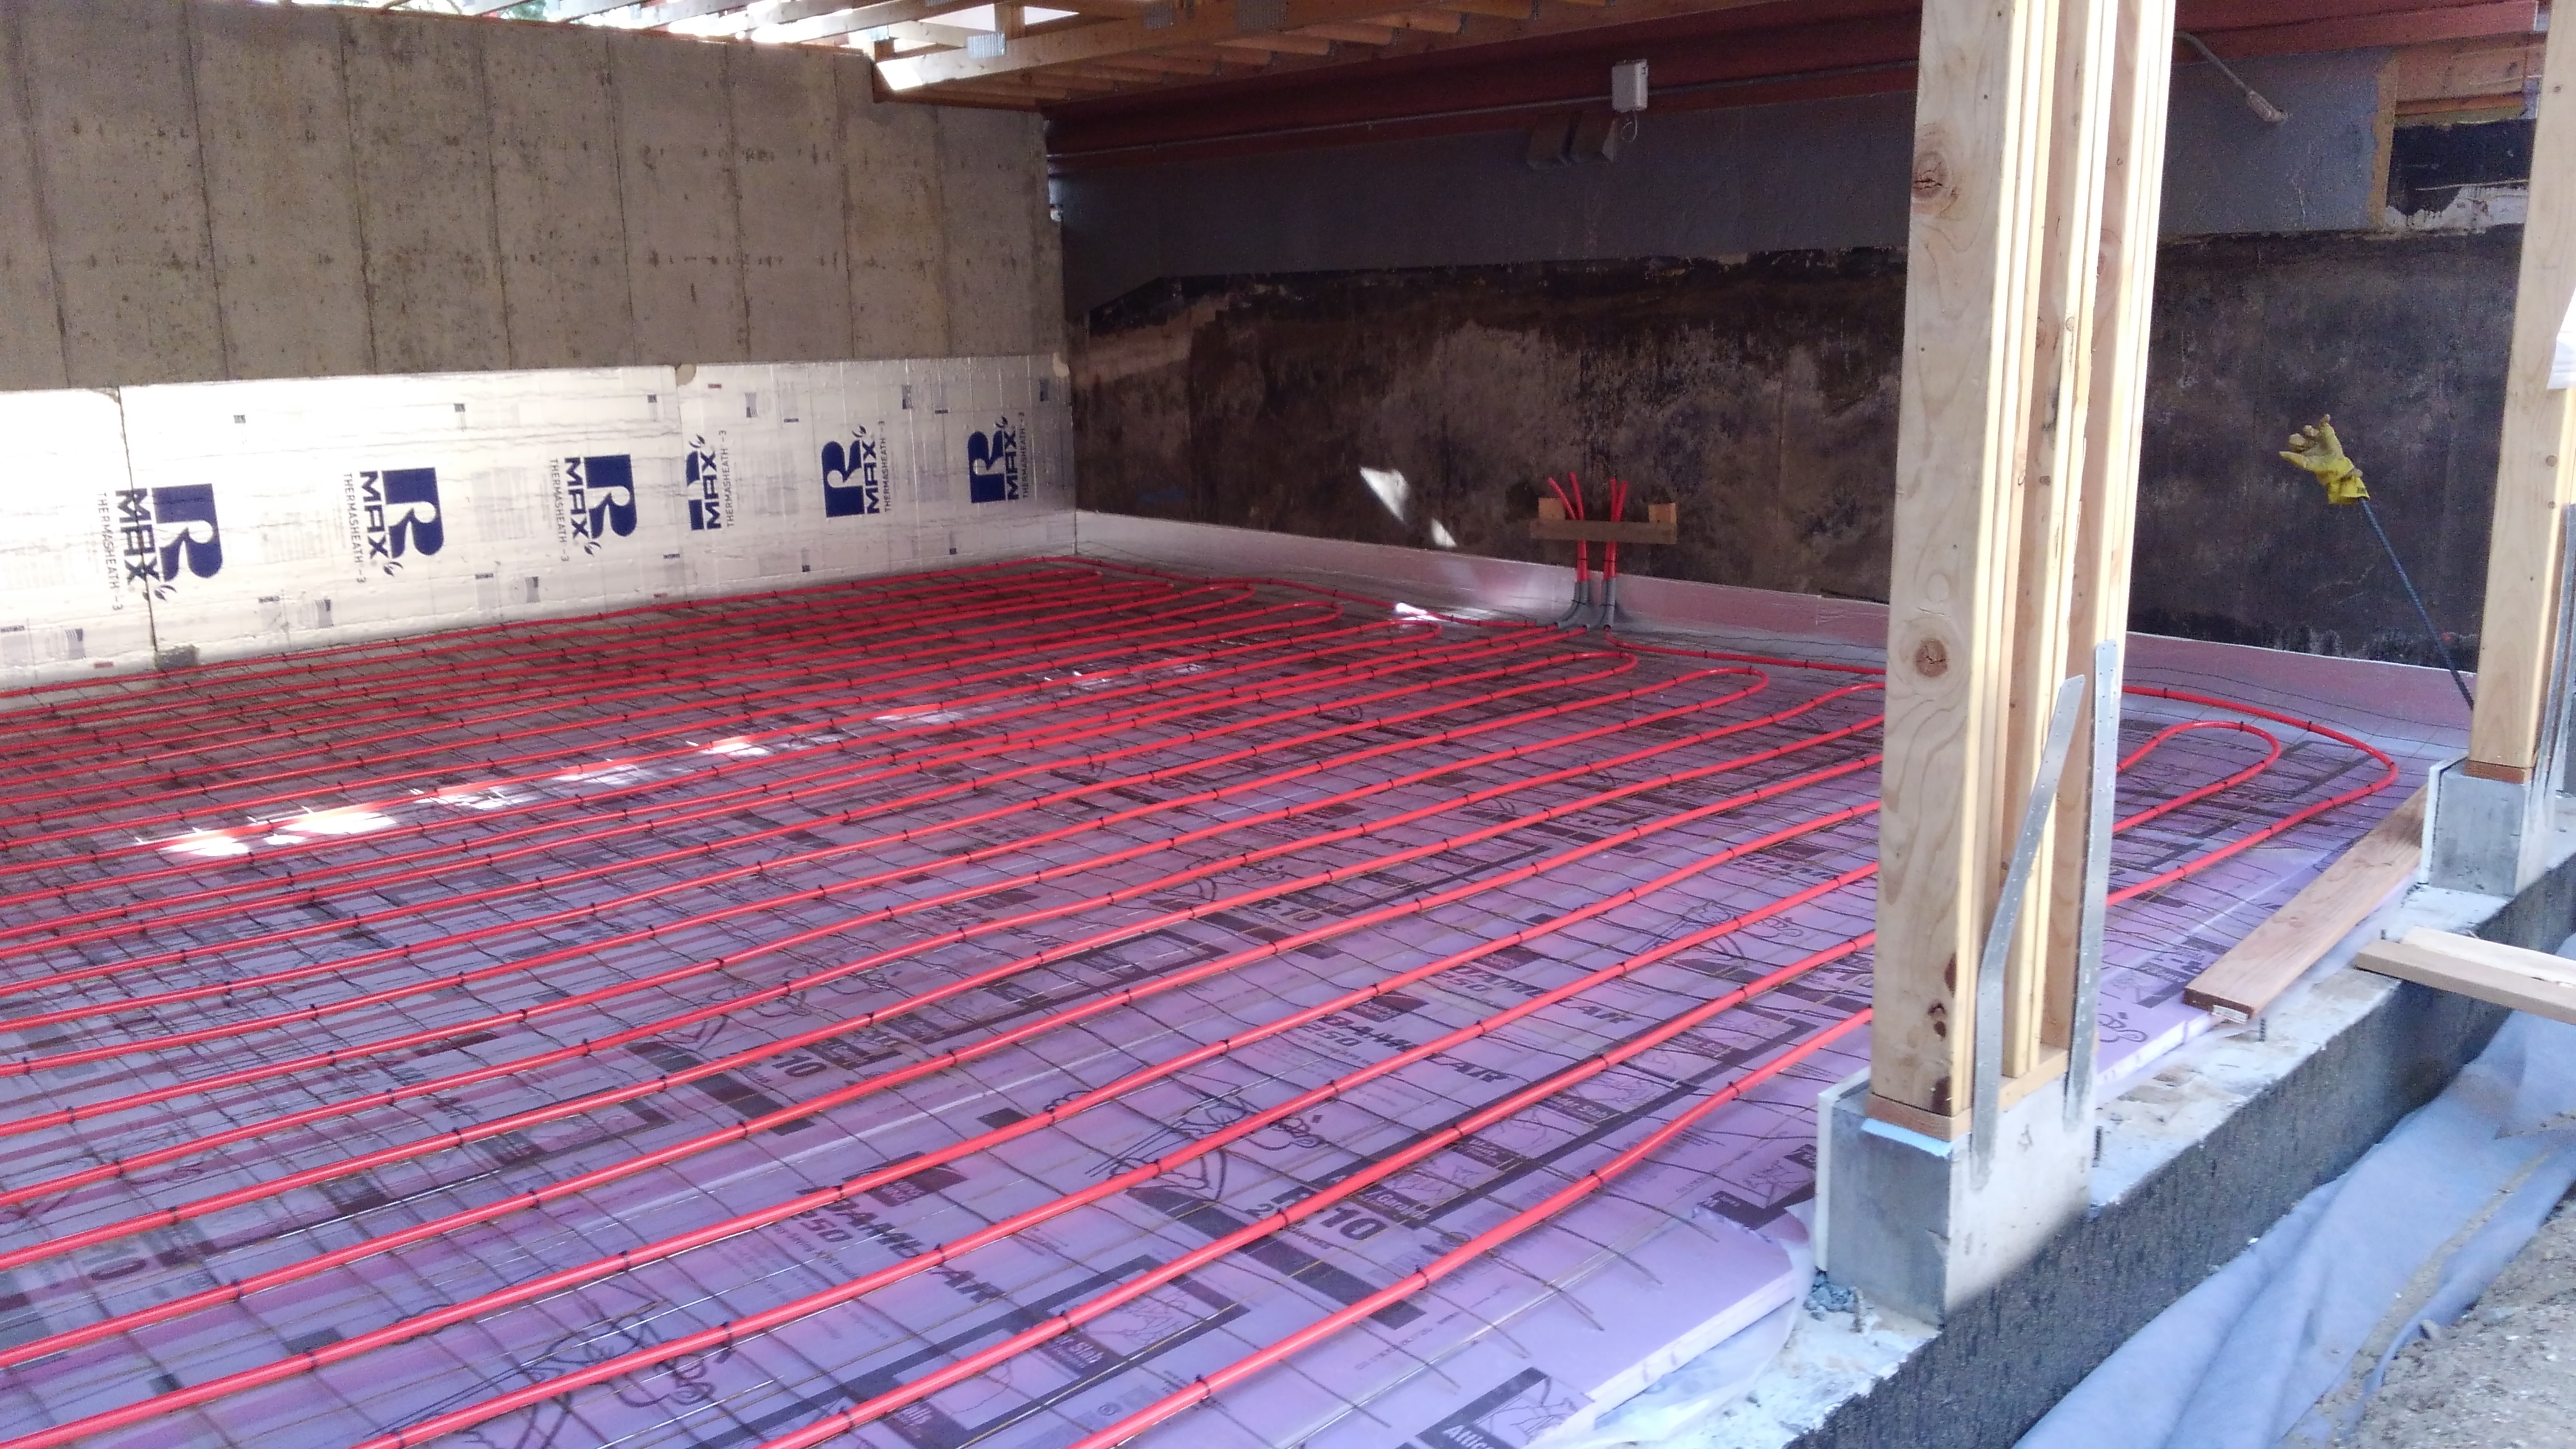
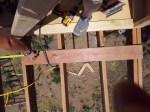
Radiant floor tubing installed. 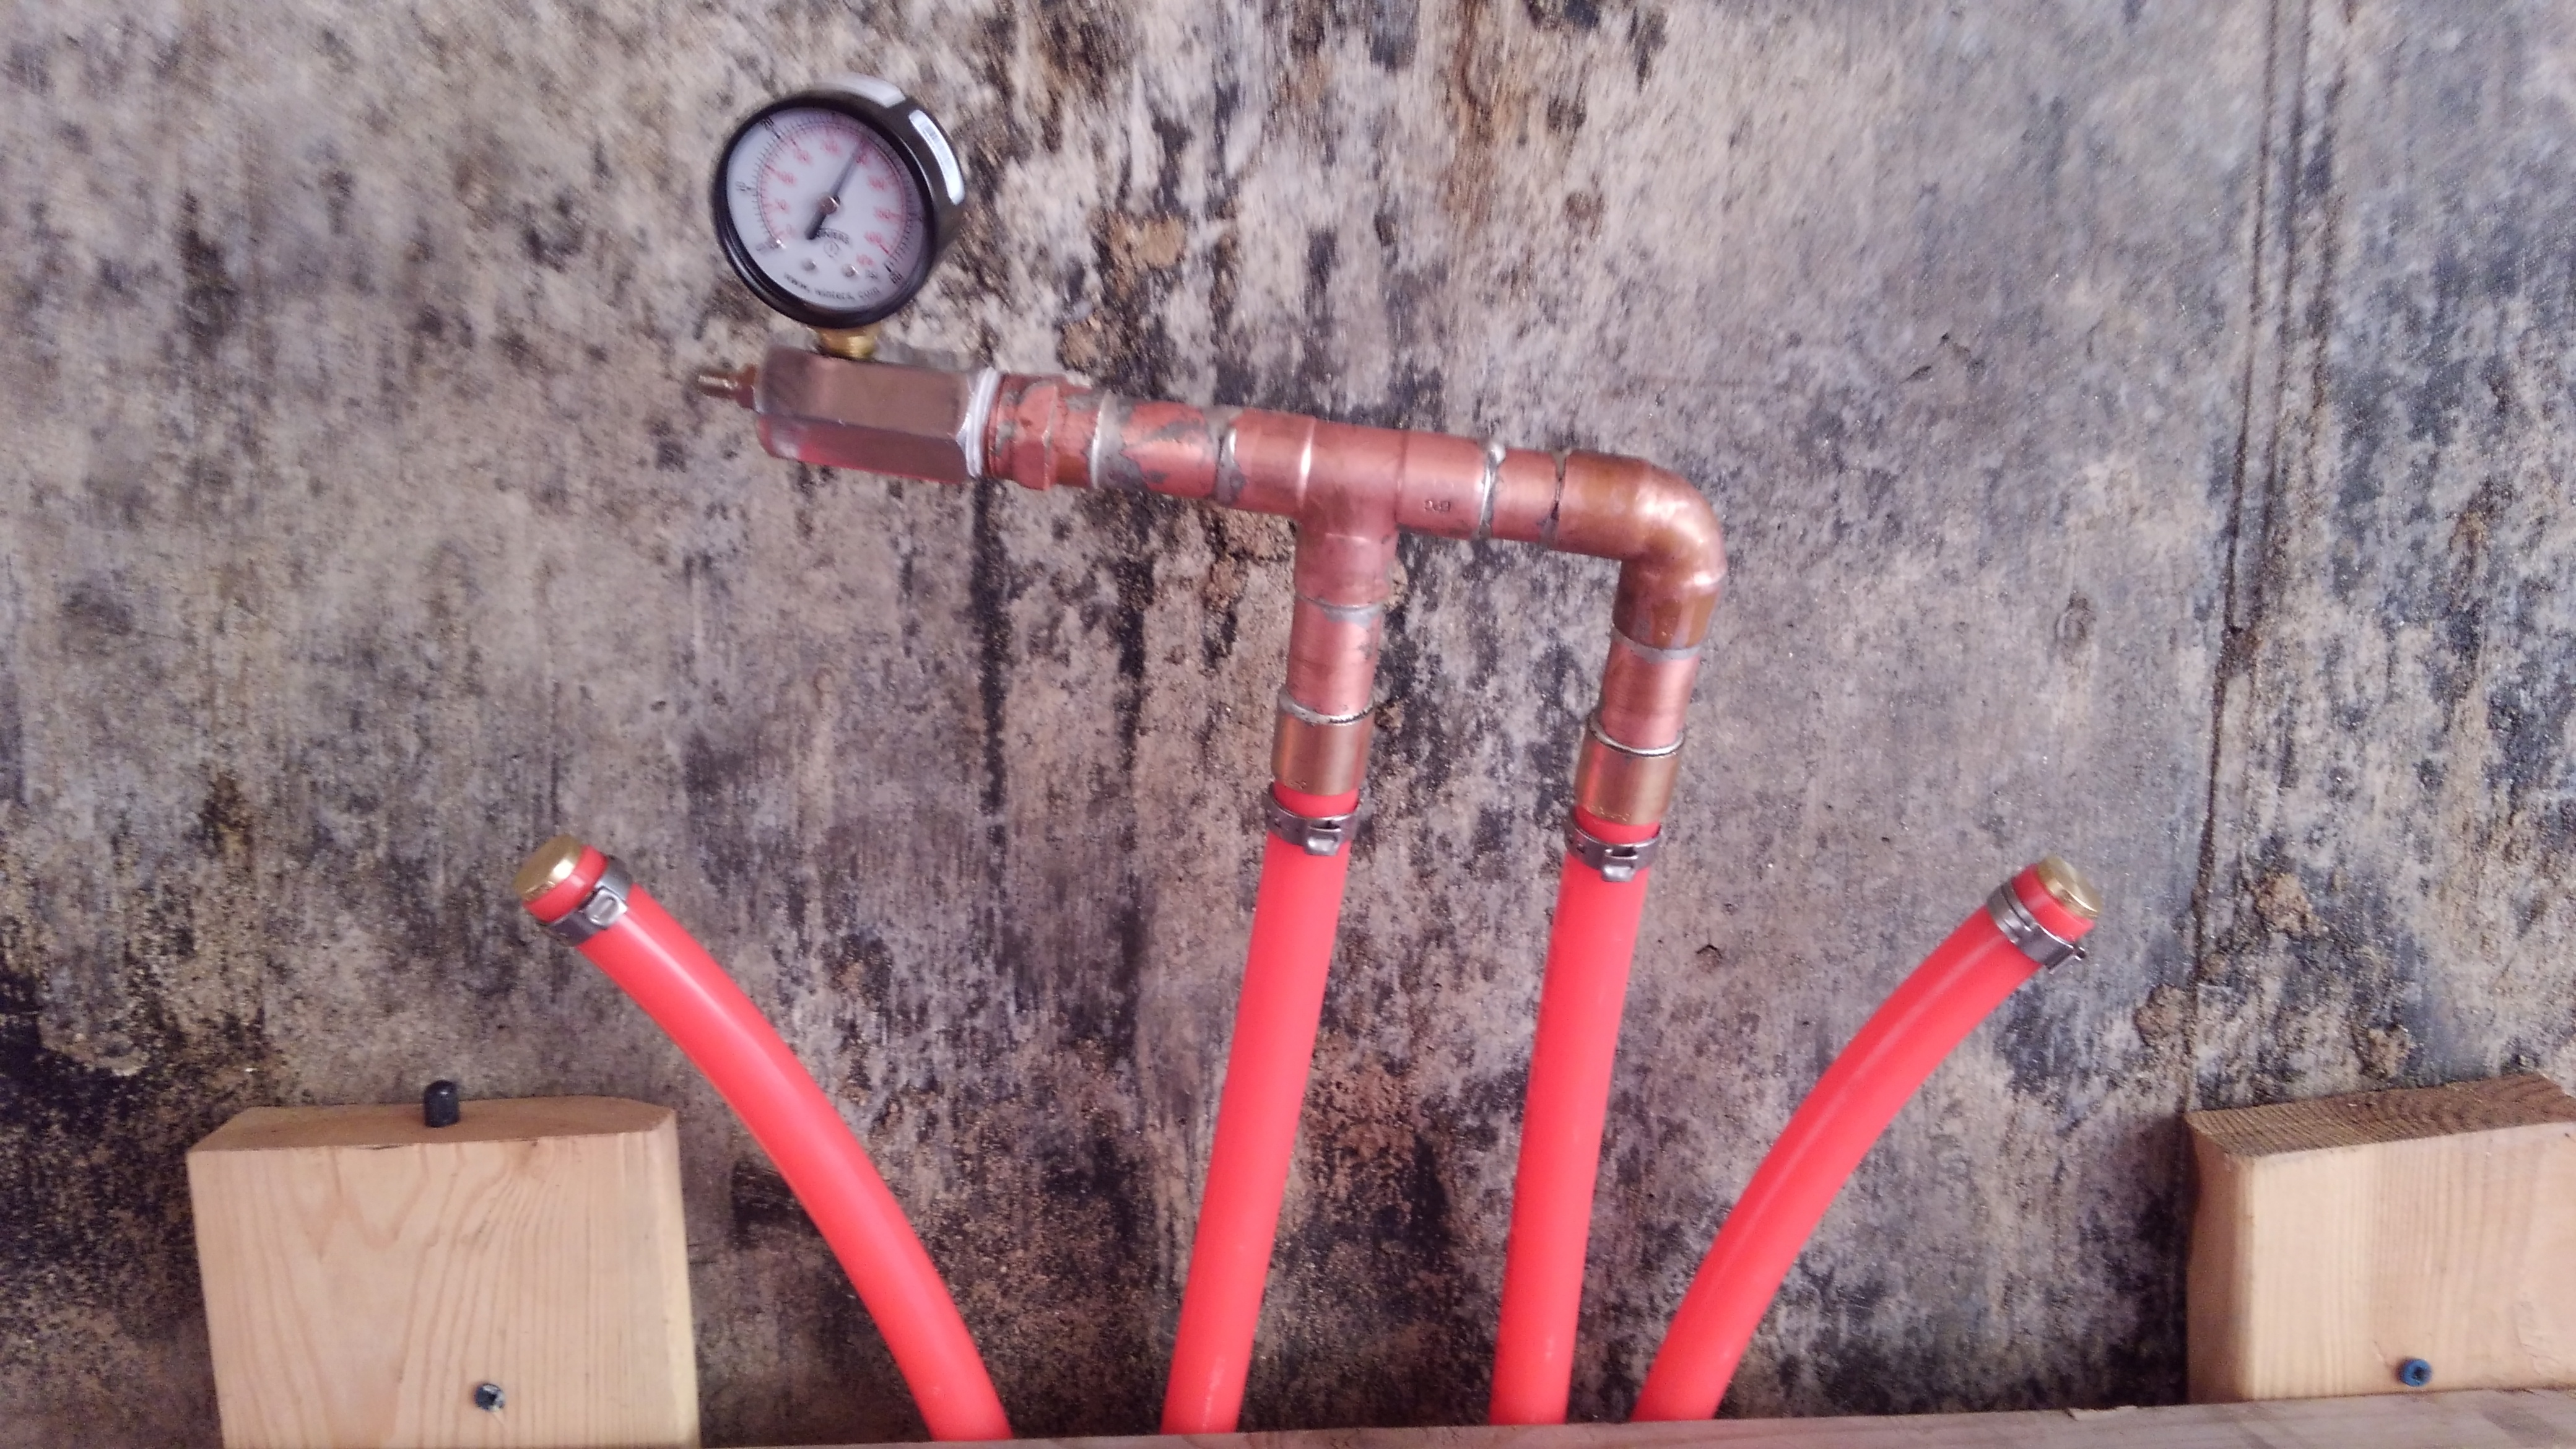
Dave’s home made manifold. Why spend $300 or more dollars when you can build one at home. 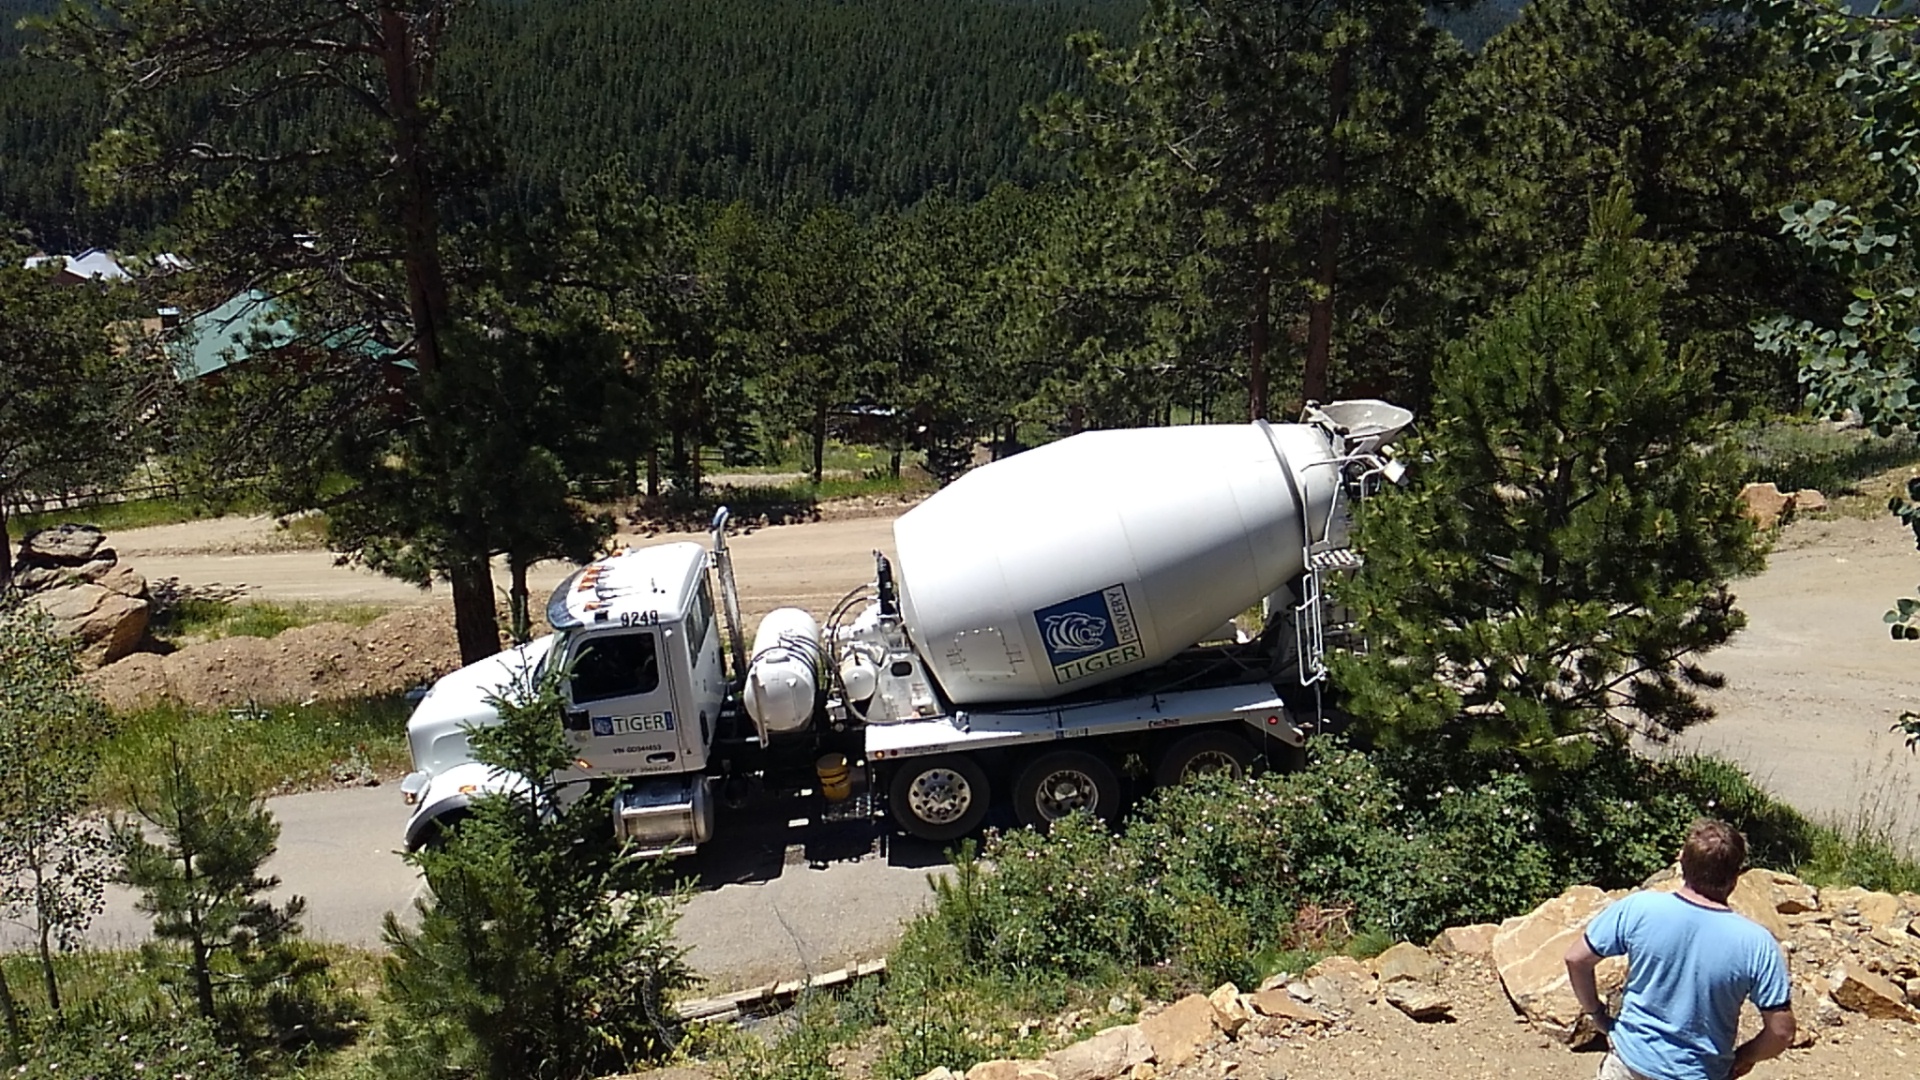
Mixer truck 1 of 2. 
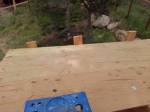
A beautiful floor.